Tag Archives: equipment

Starting Out With Light Modifiers

Many readers of Beyond Here are wanting to take the step into the professional photography ranks. They are looking to make photography a significant part of their income, and then make it their main source of income. Making that leap often means learning the skills and having the equipment to shoot multiple days of the week and in different lighting conditions. In many cases this will bring an ‘outdoor’ photographer indoor where they will need a range of lighting equipment, and the skills to use them. In this post we look at starting out with light modifiers. Here is an overview of the basic equipment.
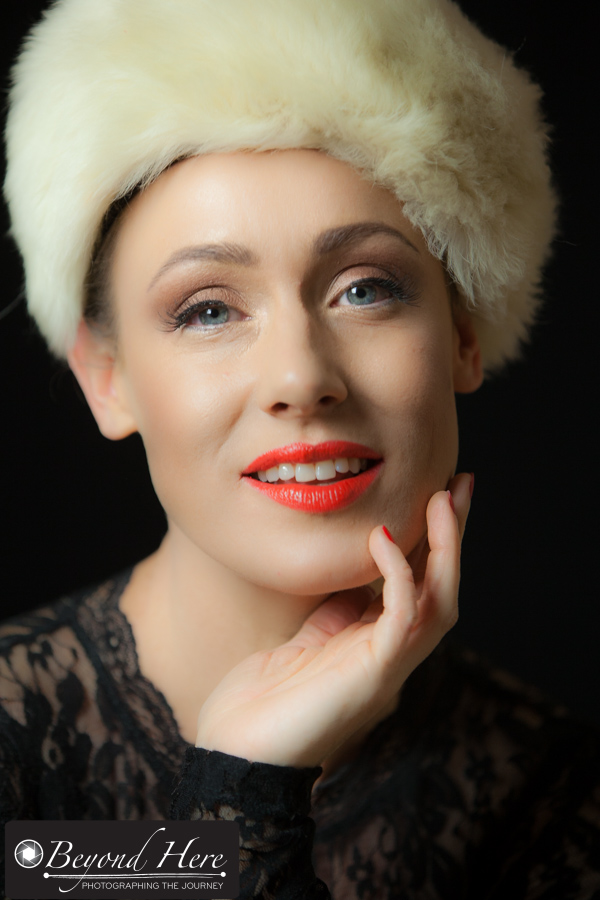
Portrait

This image was shot with a single soft box to the left of camera

Reflector – a reflector is a very simple piece of equipment. They are straightforward to use and simply reflect the existing light. They come in silver and gold which create different levels of ‘warmth’ in the light. Reflectors come in a range of sizes and are cheap and worth having.
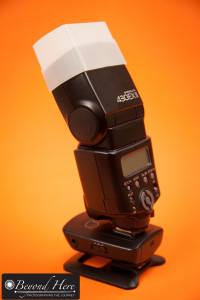

Diffuser

The simplest light modifier is a diffuser for a speedlite

Speedlite Diffuser – a speedlite diffuser is the most basic type of light modifier. They come in various forms, but the most simple is a piece of plastic which fits over the head of the speedlite. They are surprisingly effective in softening the light from your speedlite. They are very cheap and worth getting. The speedlite shown in the diagram is being used off camera. If you have never used your speedlite off camera, please see this post. Learning to use your speedlite off camera and softening the light will open up a new world of lighting opportunities for you.

Reflective Umbrella – umbrellas are ideal for creating soft light across a large area, which makes them useful for lighting groups of people. They are cheap and easy to use. The only disadvantage is that they tend to spread lots of light around. Like the reflector, reflective umbrellas come in different colors – silver, gold and white.
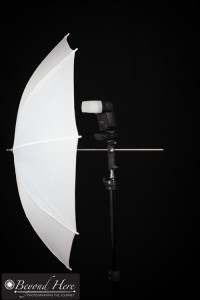
Shoot through umbrella

A simple set up for a speedlite to be fired through a shoot through umbrella

White Shoot Through Umbrella – shoot through umbrellas are great for diffusing light and spreading it evenly. They are simple to use, and as the name implies, you shoot the light through the translucent umbrella. They come in different sizes, so keep in mind that the light will be softer when coming from a larger source. Shoot through umbrellas and reflective umbrellas are very easy to use in an indoor environment. An example is in this post. Be very wary of using umbrellas outdoor. Even a very small gust of wind will catch the umbrella and blow your equipment over.

Scrims – a scrim is a square or rectangular frame with diffusion fabric spread across it. They are typically larger than umbrellas and can be used to create large areas of diffused light. Use a scrim to diffuse light from flash, continuous lights, or the sun.

Soft box – soft boxes give the photographer more control of light than umbrellas. Soft boxes are what I use most frequently in the studio environment. They are simple to use and avoid light spreading everywhere in the studio environment. Soft boxes come in a range of different sizes from small to very large. Choose which is most appropriate for your lighting needs and your space.
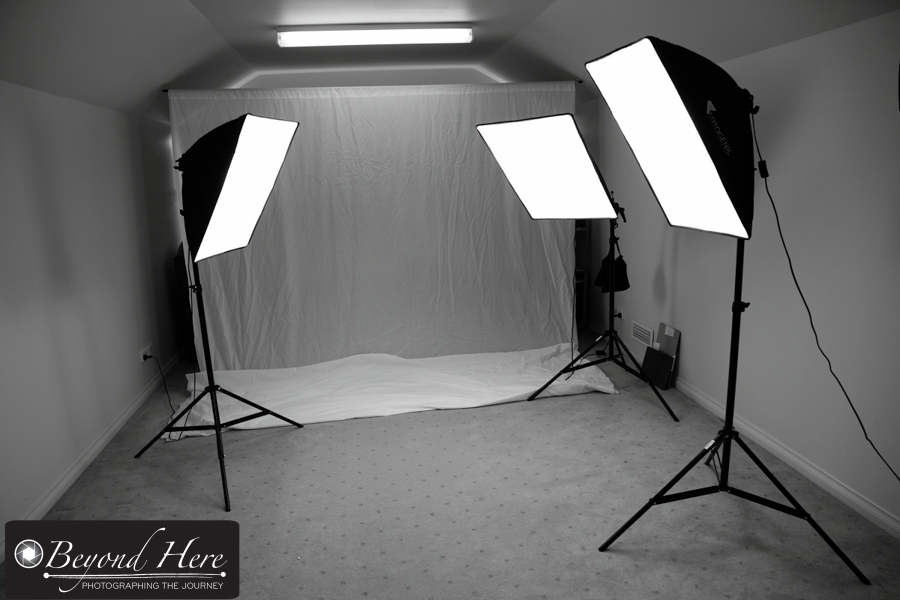
Soft boxes

An example of soft boxes in a simple studio environment

That covers the very basics of starting out with light modifiers. This post only touches the surface of a large subject. I’ve done it without mentioning beauty dishes, gridspots, Fresnel lights, or an octabox! Thanks for reading starting out with light modifiers. I hope it has demystified light modifiers and given you the encouragement to begin modifying your light.

Five Lessons from Film Photography Days

I have come across several photographers and clients recently who can barely remember film and film cameras. I feel fortunate to have lived through both the film photography and the digital photography eras.Soon there will be a generation who only grew up with digital. Technology changes have brought changes to photography, and made me think about my top five lessons from film photography days.

Film camera

We are getting to a time when many young photographers have never used a film camera

In the days of film, photography was different. I bought my first SLR camera in 1997. At that time, you planned how much film you could afford and could carry. The rolls came mainly as 36 exposure or 24 exposure. You were careful with how you used each exposure as you had a limited number and each one cost you money, both to buy the film and to have it processed. When you got your film processed it could be days, weeks, or months after you made the image. Wow, times have changed! Today, memory cards are cheap and have almost unlimited capacity. Images can be viewed on the back of the camera immediately. Often, images don’t ever get printed, they exist only in digital form. So, looking back on what I’ve learned, what are my top five lessons from film photography days?

(1) Consider Composition

In the film photography days, you had to carefully consider each image before you took it. With a limited amount of film, you had to make sure it lasted. With today’s cheap memory cards there is almost no limit on the quantity of images you can make. Sometimes this leads to an approach of shooting everything – summed up in that great description to “spray and pray”. Unfortunately this can lead to a large number of poor quality images. Lesson 1 – take the time to consider composition. It will improve your photography, and save you time reviewing and processing lots of poor quality images.

(2) Learn Faster

You had to wait for processing in the film era. This made it difficult to learn, as sometimes I could hardly remember actually taking the shot! Being able to review images instantly in the digital age gives us a great opportunity to learn faster. To make the most of this opporunity to learn faster, take the time after each shoot to review the images you have made and consider how you could improve them next time. Do this on your computer away from the shoot.

(3) Avoid Constantly “Chimping”

Chimping is that annoying habit of constantly reviewing your images on the back of your camera. In the film photography days, this option didn’t exist. Ironically, this helped the photographer engage with the subject and remain focused on creating great images. In effect, it kept you in the “creating zone” and didn’t allow you to drift into “reviewing mode”. If you are a photographer who checks the LCD screen after every image – think about not looking at it for a while, and staying engaged with the subject you are shooting.

(4) Get it Right In-Camera

Film

Film and film canisters used to be in every photographers bag. Now very few carry film.

Digital technology and the post production tools we have now give us great flexibility to adjust images after they have been made. Unfortunately this also leads some people to believe that the quality of the image coming directly out of the camera is less important now as they “can fix it in photoshop”. I hope you cringed as you read that. A bad image will still be a bad image after post production. A really good image straight from the camera, can remain a good image, or be enhanced further in post production. Don’t get lazy and expect your camera and post production tools to do everything for you. Learn your craft. Get it right in-camera and use post production tools to enhance, not fix, your images.

(5) Print Your Best Work

In film photography days, there were only prints or slides. Now it is very common for images to exist only in digital form. They can be shot on a digital camera, digitally enhanced in post production, and be used only on websites. If you have ever seen good quality images in print you will know how powerful prints can be. Think of family portraits in a home, wedding images hanging on walls for generations, and landscape images in corporate boardrooms. Take the time to print your best work. It will have an impact.

These are my top five lessons from film photography days. I don’t miss those days, but I feel lucky to have used film and digital technology. Did you live through the film photography era? What lessons did it teach you? Do you miss any aspects of that era?

The “Go To” Lens

I have 4 lenses which I use for the bulk of my photography work – but one of them is the “go to” lens. It goes to nearly every assignment.

I use Canon L series lenses. They are Canon’s highest quality lenses and are recognizable by the red ring around the end of them.

The 4 lenses I mainly use are:

  • 50mm f1.2 This lens is always in my bag for weddings. It performs very well in low light situations like churches and reception venues.
  • 100mm macro f2.8 This is a versatile lens. I use it for macro images, some portraits, and quite extensively in my stock photography work. It is not just for macro images.
  • 24-105mm f4 This is a very useful and versatile lens. I use it for portraits, landscapes, and for stock photography.
  • 70-200mm f2.8 This lens gives great flexibility. I use it across a broad range of image types – from studio portraits to weddings to wildlife.

All 4 are very good lenses and provide options for making different types of images. That said, the 70-200mm lens is the “go to” lens. It is in my bag for nearly every photography job – weddings, studio portraits, outdoor portraits, and wildlife shoots. The zoom range gives flexibility, and being able to shoot at f2.8 lets me achieve fast shutter speeds with a narrow depth of field.

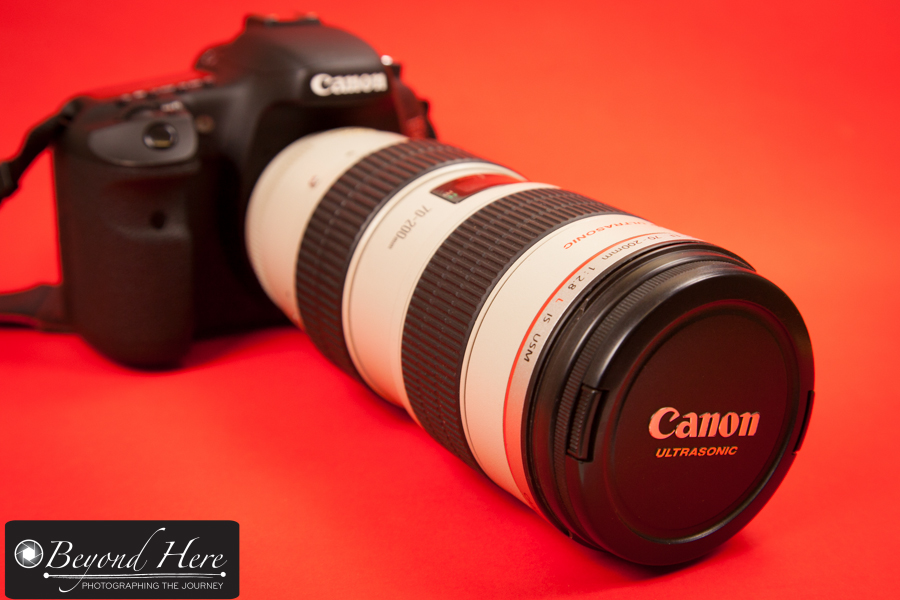
Canon lens

The Canon 70-200mm f2.8 lens

It is a great lens and I recommend it if you are serious about your photography. If you don’t use Canon equipment, don’t worry. All the major lens manufacturers have an equivalent lens. I’d recommend you check it out.

What are the trade-offs?

There are two trade-offs with the 70-200mm lens.

First, it is relatively expensive. The Mark II version with image stabilization is around A$2800. If that is out of the budget, consider a second hand Mark I version or a cheaper model with the same zoom range. A cheaper lens won’t have the same image quality but that may not be critical for you.

Second, it is quite heavy, at just under 1.5kg. Carrying this lens all day can be challenging.

When don’t I carry the 70-200mm?

I don’t carry the “go to” lens when I shoot corporate portraits at an office. These are typically small spaces not suited to this zoom range. In this case I use the 24-105mm lens.

What is your “go to” lens? Is there one lens that always goes in your camera bag? Why?